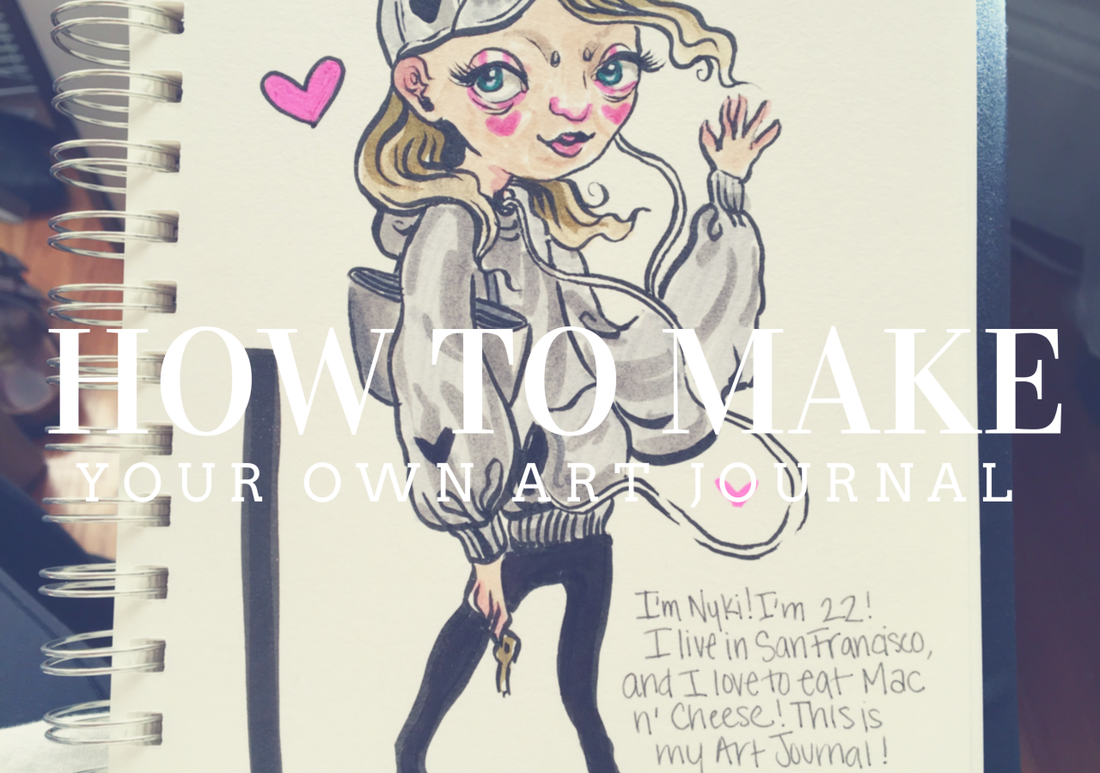
 “Nyki’s first page of her art journal: a self portrait with a small synopsis.” Photo Credit: Nyki Way, All Rights Reserved. “What should I draw?” Sometimes my friends grovel when I ask. This is something every artist faces: the block. Sometimes you’re just not inspired, or your not happy about what you’re drawing. Well I’m calling all doodlers, sketchers, and artists alike, listen here, I have your solution! Quit using your sketchbook as a place to practice, start using your sketchbook as your own personal form of therapy! I figured out a way to use my sketchbook as my journal and to keep a chronological set of how I perceive myself in situations. So listen up! I’m giving you a step by step guide to processing the good, bad and everything in-between, as well as a beautiful set of drawings! Good luck! Step One: Think of a Recent Event Involving You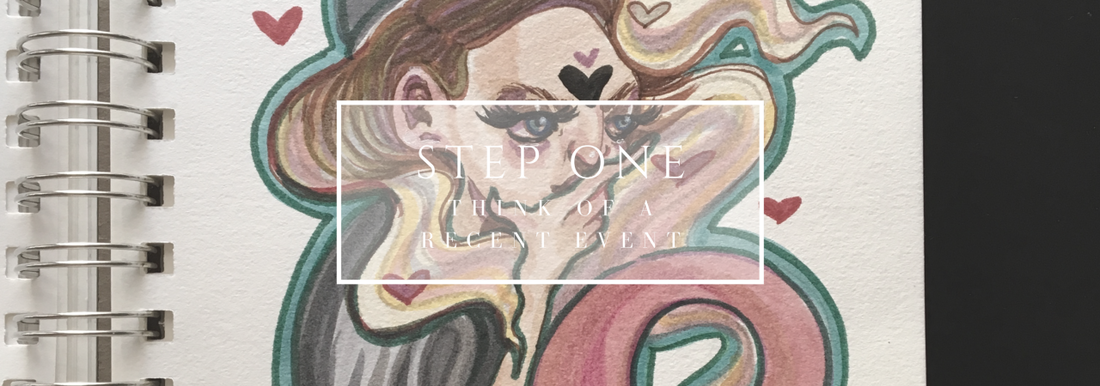 “Illustration of Nyki, thinking of a recent event that involved her.” Photo Credit: Nicole Wiehe, All Rights Reserved. This can be absolutely anything! It can be something happy, sad, weird, whatever! The only requirement is that it had to occur in real life, and it had to involve you. It could be something mundane like sleeping through your alarm that morning, or something more stressful, like dropping a class. Don’t limit yourself. It could even be something great and exciting, like getting a pet, or winning a contest. Step 2: Write Down Your Key Emotions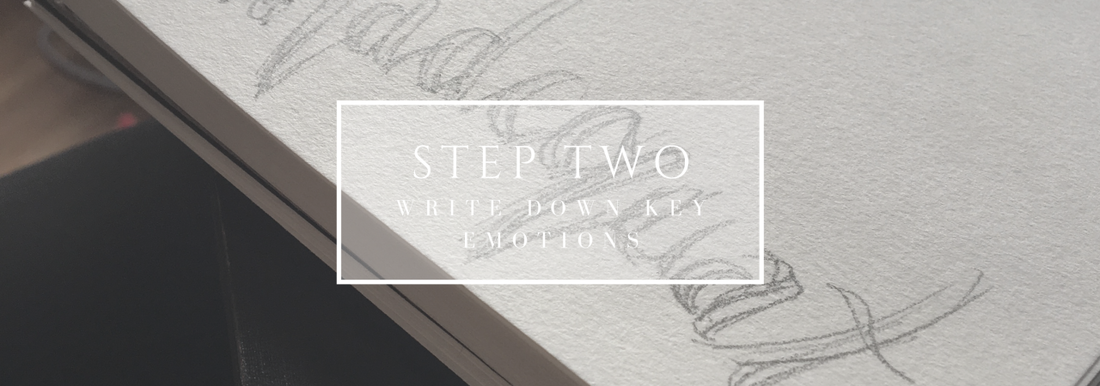 “Nyki writes ‘inadequate’ for step 2 in her art journal as her key emotion.” Photo Credit: Nicole Wiehe, All Rights Reserved. There are a ton of emotions out there, but pick one or two that really stick with you when you think of your particular event. I recently dropped a class, because I couldn’t meet the demand of the instructor, so for my words I chose inadequate and disappointed. Have fun with writing these words! Make them graffiti letters, bubble letters, or try out some calligraphy! I suggest placing them on the edges of the paper to frame your composition. If you can’t think of how your’e feeling, I’ve given you a list to choose from: 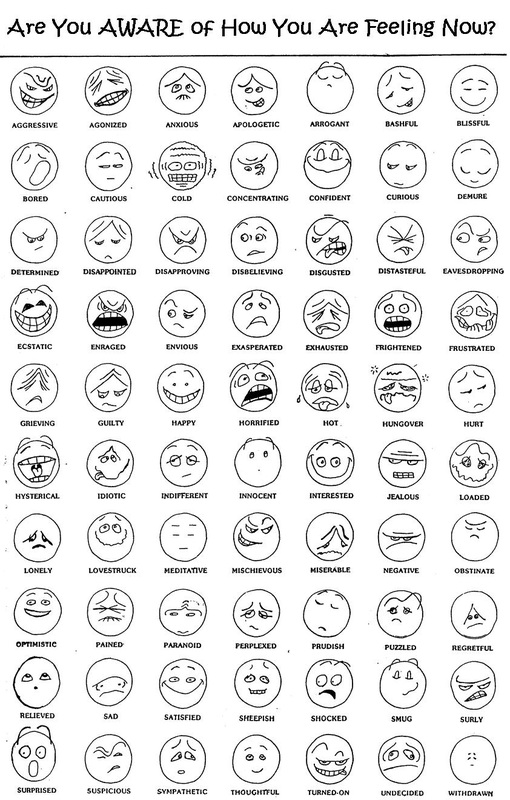 Step 3: Designate Areas for Text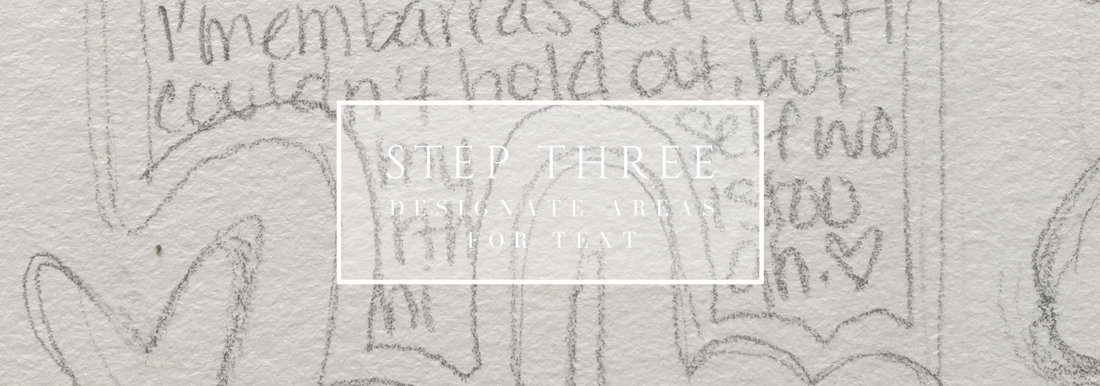 “Nyki designates areas for text in her art journal entry.” Photo Credit: Nicole Wiehe, All Rights Reserved. So as of now you have a big ole sheet of paper with a couple of words on it! So add some big squares or shapes for text! I used the computer monitor as my text area. They can be anywhere you want but remember you have to draw a lot more. This is the area where you can journal about the situation, write a poem, or do anything that inspires you as long as it’s word-smithing! Sometimes I like to leave the area blank until step six, but do whatever your heart is telling you! Step 4: Draw Yourself Inside the Event or Situation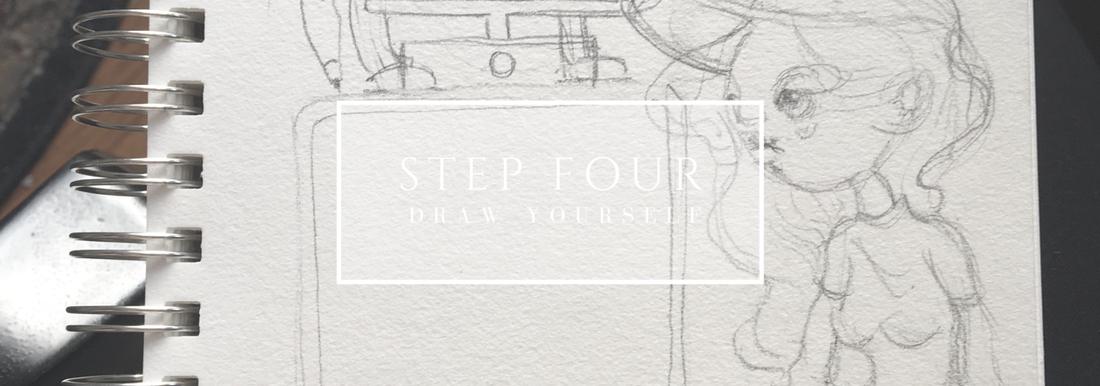 “Nyki draws herself in the situation of the event she chose in her art journal entry.” Photo Credit: Nicole Wiehe, All Rights Reserved. Draw yourself! It doesn’t have to look exactly like you, but just make sure you include all the elements of the situation. Maybe add the clothes you were wearing, or where you were. For my drawing I chose to put myself in my regular school clothes, looking at the computer screen because that was the set up in the class I was in. Try to be specific, so when you look back you know exactly what happened. Step 5: Add Stuff that Relates to Your Event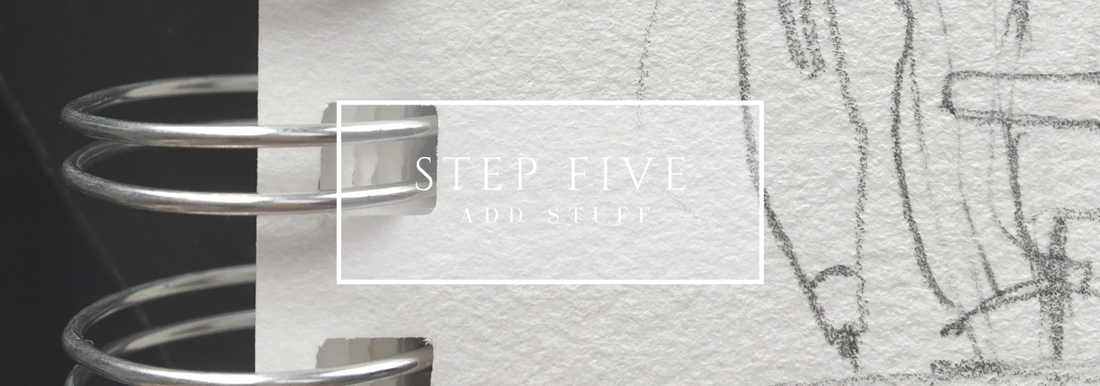 This is the best part! Just add junk! In my case, I added Wacom pens, bb-88 because my instructor worked on Star Wars, and I even included him yelling at me. Anything to get your idea across. Any object you can think of that relates to your event, jot it down! Screw gravity, light and shadow and all that good stuff, just doodle! Step 6: Color and Paint Your Design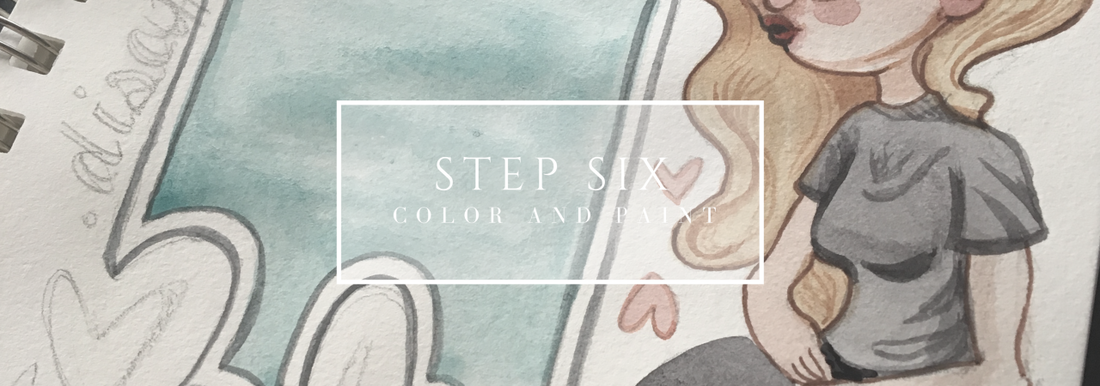 “Nyki starts to watercolor paint her art journal entry.” Photo Credit: Nicole Wiehe, All Rights Reserved. Okay, maybe this is the best part! This is where I want you to whip out your paints, your crayons, your markers, your pencils, or whatever gets you going! Unleash the color beast! Sometimes I like to match my colors to the mood of the situation, but other times I like to just play and be weird. When I do that, it often shows. That’s the cool thing about art, it’s so full of soul! Step 7: Forget About It!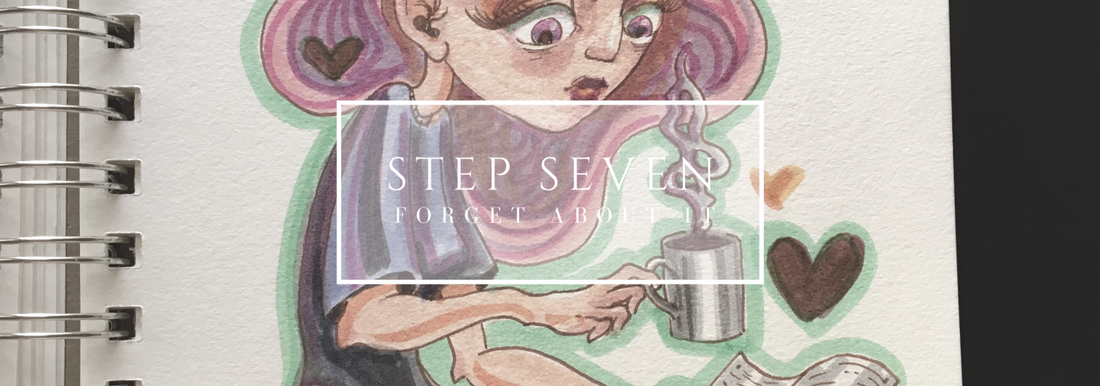 “Nyki’s illustration of her taking a break from her art journal entry.” Photo Credit: Nicole Wiehe, All Rights Reserved. Yeah, you heard me! I told you to forget about it! Don’t think about it at all! In fact, please please please, take a break! This is so important. I think in all endeavors, artistic or not taking a break allows us to clear our heads and look at the situation with a fresh mind. Go take a bath, eat a sandwich, or watch an episode of Westworld! Do anything (with your best judgement)! Just please don’t look at that drawing! Step 8: Come Back To It!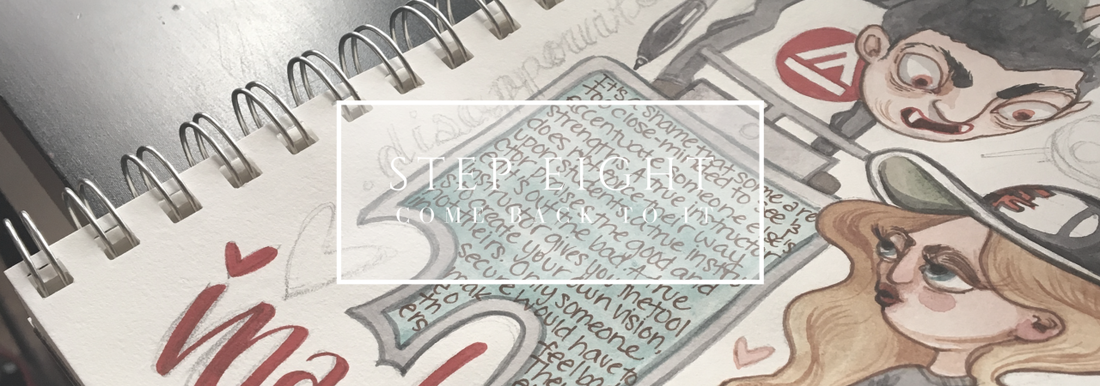 I hope you didn’t think I meant to forget about it forever! We gotta finish it! Maybe now when you look at it, you will think of new objects, new compositions, or new colors, take your fresh eyes and apply and finish! Maybe you waited to journal until right now, and that’s totally fine! Fill the empty text squares, finish your coloring escapades and make it look exactly how you please! Step 9: Process It “A photo of a landscape by Sutro Baths in San Francisco.” Photo Credit: Nicole Wiehe, All Rights Reserved. This is the part that most artists forget. We create but we don’t process, and because everything we create is a little hint into our subconscious, we’re missing what could be something extremely important. Look at the drawing again, it’s all done now. Just look at what you painted. Is there a new perspective you see? Are you feeling less of the emotion you wrote down in the beginning? Have you wondered about how the other person in the situation felt? What about those objects? Are there things that reflect anything deeper than that situation? Think about it, even if you don’t see it now. I’m sure when you look back in a week, a month, a year, you’ll discover new things. Step 10: Do It Again!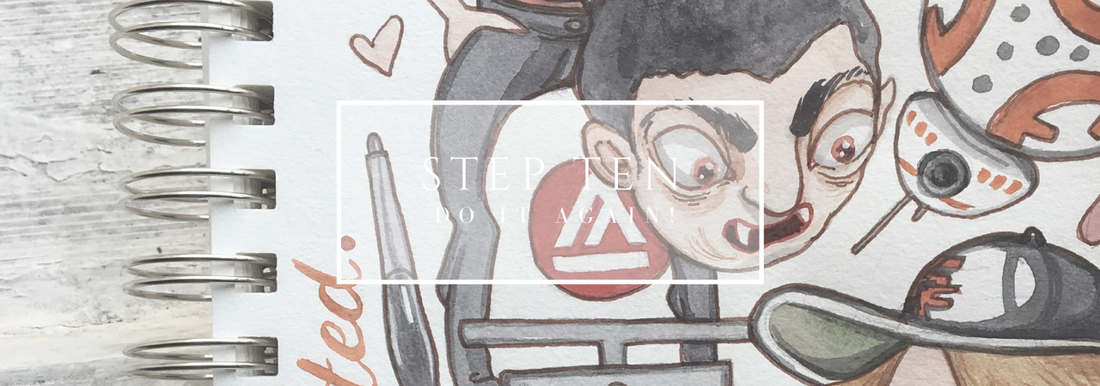 Hopefully you keep drawing! That’s the goal. If you paint a situation a week, in a year you will have a full sketchbook of amazing illustrations that tell a detailed story of your life. In some respects, it’s better than just drawing the things in front of you, it’s drawing the things that happen to you. The more you repeat this process, the more you will be able to look back, and see your improvement in your life, your mood, and your thoughts. The more aware we are, the better understanding we have of how to be the best we can be. 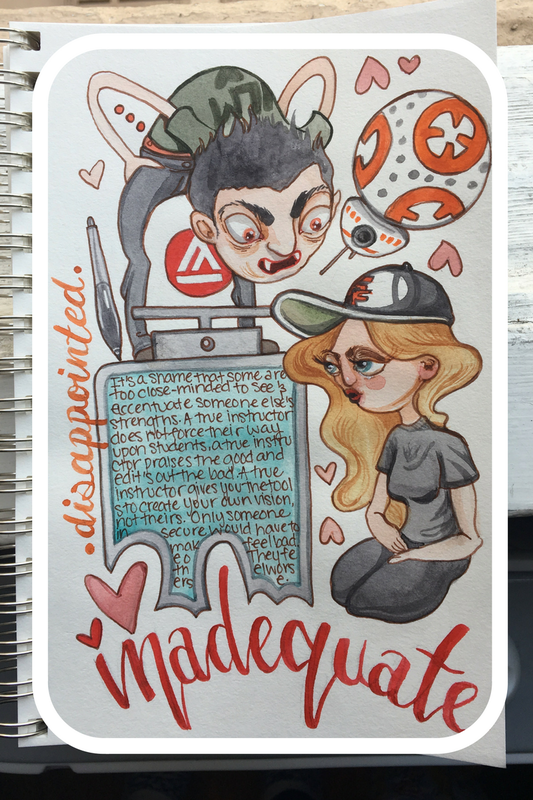 I hope you all had a fun time making your own art journal pages! Hopefully you learned something about yourself, added a beautiful piece of artwork to your sketchbook, and most importantly had a little fun. I encourage you all to keep drawing and keep processing. We go through a lot day to day, and the smallest encounters can stick with you and us not know why. It’s time to dig deep, and be your best you. Follow me on Instagram and other social media accounts to keep up with my art journaling escapades, and hopefully get inspired to keep making yours!  Comments are closed.
|
AboutA Guide to Using Art as a Coping Skill, through the lens of a former psychiatric ward patient, and current painter. Archives
March 2017
Categories
All
|
